This is the final in a four-part series of wrestling drills and concepts developed by World Champion/Olympic silver Dennis Hall. All of the material has been written, structured, and produced by Hall in an effort to encourage a more functional understanding of basic positions and tactical fundamentals for each style of wrestling.
Hall, who serves as co-host of the Five Point Move Podcast, has been the owner and operator of World Gold Wrestling in his native Wisconsin for over two decades and is currently the head women’s coach for the University of Dubuque — as well as the head coach of the Dubuque RTC.
Part I of Wrestling’s Basic Truths outlined the fundamentals of “First Contact” (when wrestlers engage either in the beginning of a match or following a reset). The second part covered “Stance” and features explanations of drills along with graphic charts wrestlers and coaches can use during training. Part III focused on “Level Change” and includes graphics to help guide viewers.
DUBUQUE RTC ‘WRESTLING’S BASIC TRUTHS’
PART I — First Contact
PART II — Stance
PART III — Level Change
PART IV — Lifting

Part IV: Lifting
This terminology can be applied to several areas of wrestling. Most commonly in the United States, lifting is associated with a mat return in folkstyle. Another is from our stance while recruiting upward directional pressure to force an opponent off-balance or uncentered. In Greco-Roman, a lift often refers to a side, straddle, straight, or reverse lift from par terre top. Every type of lift, in every style of wrestling, incorporates the influence of directional pressure utilizing vertical use of leverage.
LIFTING FROM THE STAND UP POSITION
There are two techniques to lock your hands.
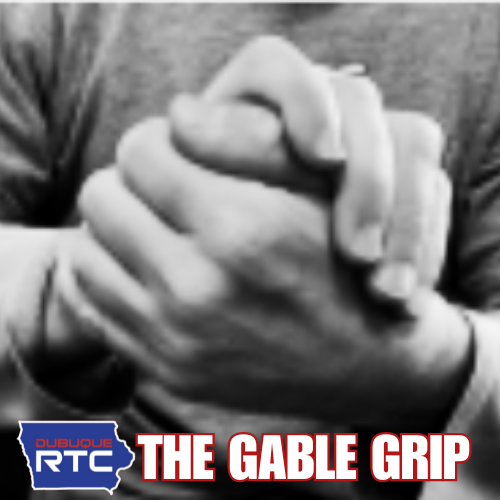
The first is known as the “Gable Grip”. This is when you put the palm of your hands together at a 45-degree angle — but without your thumbs separating from the rest of your hand and forming loops. The “Gable Grip” is achieved with your palms firmly pressed against one another with your thumbs remaining attached to the index finger. This type of lock can be used for lifting from a variety of positions, including throws, single-legs, and front headlocks.

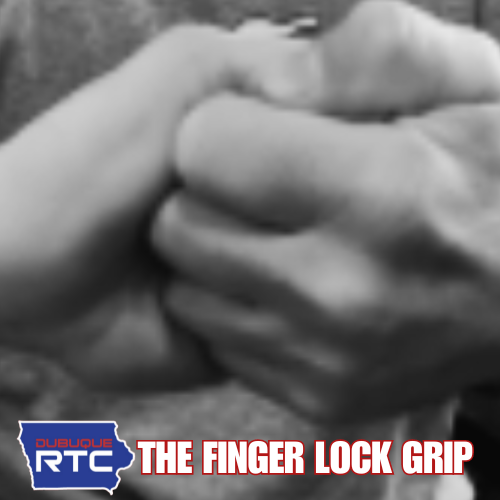
The second type is what like to call the “Finger Grip Lock”. First, place your right hand so that your palm is facing you. Next, put your left hand so that the back of your hands are facing you. At this point, both palms of your hands are facing each other. Fingers need to be tight with no space between them. Now put your hands together so that the fingers on each hand overlay the other hand. Clench your fingers together. Notice that your thumbs are out; now press your thumbs to your pointer finger. This lock is difficult to break because opponents will struggle mightily to grab your thumbs. This lock is used in mat returns from the feet, cradles, and lifts for Greco-Roman and freestyle. You may use either lock when lifting from the stand up position for a mat return.

LIFTING DRILL
1 — Start with your hands locked.
2 — Start with the lock in the center of your opponent’s body, approximately 2″ below the belly button. Be sure to have a bend in your knees so that your hips are at or lower than your opponent’s hips. Make sure that you are also using downward leverage. Drive your lock by rotating your hands in a downward pressure with your wrists. This motion will pull your opponent’s hips into you, thus breaking his COG. Notice that when you perform this motion how your elbows come back towards you. This helps attach the load of your opponent.
3 — It is important to understand that you will be lifting to the side where your hand is lower. (Example: if my left hand is lower, I will be lifting to the left.) Next, step your left foot to the outside of your opponent’s foot. Make sure to change your level while doing this. This will put your opponent’s hips higher than yours. Immediately, I am using my left elbow as leverage and exerting pressure with my elbow to my opponent’s left hip or upper-thigh. Notice that your left elbow comes close to your own hip. At this point, your opponent’s hips should be loaded onto yours. Keep everything tight (Body Lock) and use a level-change to lift your opponent.
Refresher from Part III (Level Change): in order to do a proper level change, you must be in the correct positional stance. Weight needs to be equally distributed throughout your feet and heavy into the mat. Your lead leg leverages the ground and loads your back foot. Both feet should then feel equal pressure throughout the foot. Notice when doing this that your hips slightly change elevation. The knee on your back leg will go slightly forward at this moment during execution. Now your hamstrings should also be engaged, as well as your core. Next, drive your tailbone down by
leveraging the mat. When the back of your knees reach a 90-degree angle, create a fish-hook motion with your hips by leveraging the mat with your back leg and drive slightly forward and up. You should then notice that you have returned to your original stance.
BACK STEP
This is one of the Seven Basic Skills that is primarily used for throws such as arm spins, hip tosses, and headlocks. During proper execution of these throws, you will load your opponent by getting your hips lower than his.
1 — Start in a staggered stance. Get into a correct positional staggered stance by beginning with your feet shoulder-width apart. Take one step out to the side with each foot. This is an athletic stance. The dominant leg will step forward (right-handed wrestlers will lead with their right foot, just as left-handed wrestlers will lead with their left leg). This is a staggered stance. It is staggered because your feet are in a stride position. Leverage the mat with your front foot and create a backward level change. Notice that your back leg will be carrying most of your body weight.
2 — From this position, perform a forward level change from the correct positional stance. Weight needs to be equally distributed throughout your feet and heavy into the mat. Your lead leg leverages the ground and loads your back foot. Both feet should feel equal pressure throughout the foot. Notice when doing this that your hips slightly change elevation. The knee on your back leg will go slightly forward at this moment during execution. Now your hamstrings should be engaged, as well as your core. Next, drive your tailbone down by leveraging the mat. When the back of your knees reach a 90-degree angle, create a fish-hook motion with your hips by leveraging the mat with your back leg and drive slightly forward and up. Once again, you should then notice that you have returned to your original stance.
3 — Leverage your toes into the mat with your lead leg. Your heel will next come off of the mat, making it possible to pivot on that foot. Your foot will slightly turn in.
4 — Pivot on your lead leg and step backward with your other leg. Leverage the mat with your back leg so you finish in a low stance.

Listen to “5PM54: WCAP’s Ryan Epps and a Final X Greco-Roman Preview” on Spreaker.
SUBSCRIBE TO THE FIVE POINT MOVE PODCAST
iTunes | Stitcher | Spreaker | Google Play Music


